
Step-by-Step Guide to Using Amazon Transcribe for Speech to Text
JT
Getting Started with Amazon Transcribe
Amazon Transcribe is a powerful tool that converts speech into text, making it easier for businesses and individuals to transcribe audio files. Whether you're a content creator, a business professional, or anyone in need of transcription services, Amazon Transcribe offers a reliable solution. In this guide, we'll take you through the process of using Amazon Transcribe step-by-step.
Setting Up Your AWS Account
Before you can use Amazon Transcribe, you'll need an AWS account. If you don't already have one, go to the AWS website and sign up. The sign-up process is straightforward and requires some basic information. Once your account is set up, ensure you have access to the AWS Management Console.
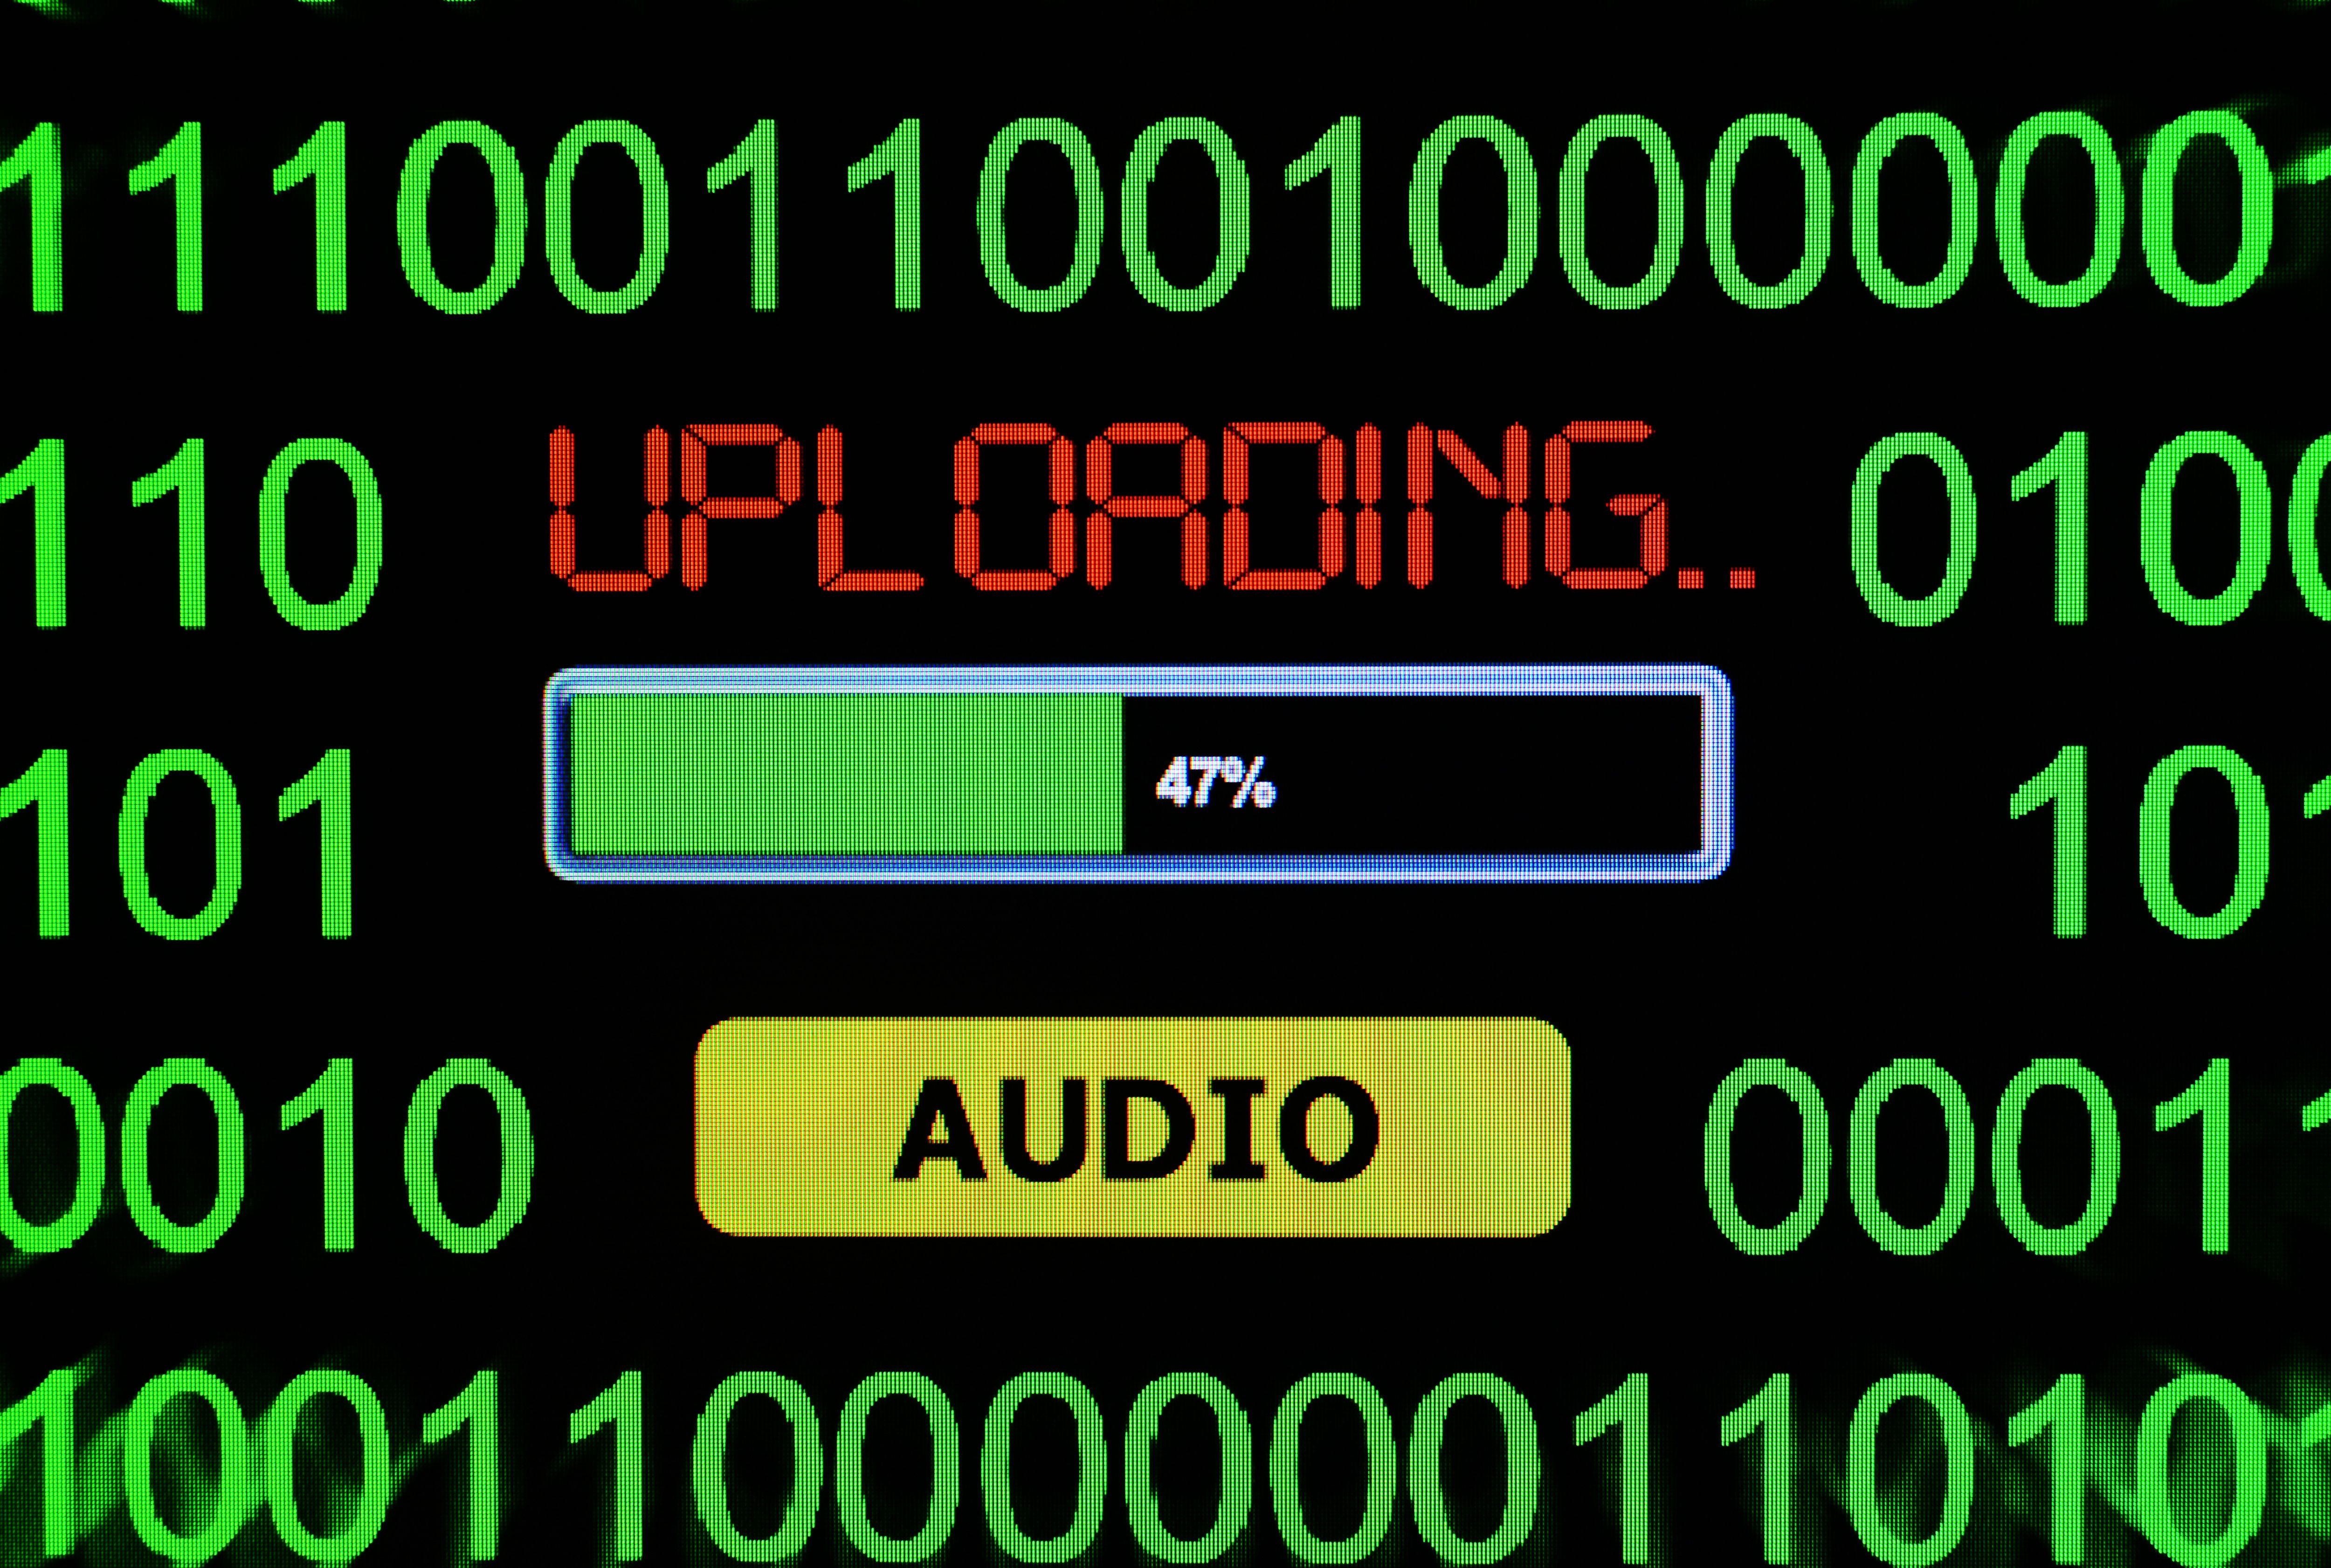
Uploading Your Audio Files
Once logged into your AWS Management Console, navigate to the Amazon Transcribe service. You can find it under the "Machine Learning" category. To start transcribing, you'll need to upload your audio files to an S3 bucket. If you're unfamiliar with S3, it's a storage service that makes it easy to store and retrieve data.
- Create an S3 bucket if you haven’t already.
- Upload the audio files you wish to transcribe into this bucket.
Creating a Transcription Job
With your audio files in place, return to the Amazon Transcribe console to create a transcription job. Click on "Create job" and fill in the necessary details:
- Job name: Give your transcription job a unique name.
- Language: Select the language spoken in your audio file.
- Input data: Specify the location of your audio file in the S3 bucket.
Configuring Additional Settings
Amazon Transcribe offers several advanced settings that you can configure to enhance the transcription process:
- Speaker identification: Enable this if your audio contains multiple speakers and you want them identified separately.
- Punctuation: Choose whether to include automatic punctuation in your transcriptions.
- Channel identification: Useful for audio files with multiple channels, such as stereo recordings.

Starting and Monitoring Your Transcription Job
After configuring your settings, click "Start job" to begin the transcription process. The duration of the transcription will depend on the length and complexity of your audio file. You can monitor the status of your job in the console. Once completed, the status will change from "In progress" to "Completed".
Retrieving and Reviewing Your Transcript
Once the transcription is complete, you can download the transcript from the console. It will be available in a JSON format, which can be converted into a text document for easier review. Take time to review the transcript for accuracy, especially if there were multiple speakers or background noise.

Integrating Transcripts into Your Workflow
The final step is integrating your transcripts into your workflow. Whether you're using them for content creation, meeting notes, or research, make sure they align with your objectives. Amazon Transcribe also allows integration with other AWS services, enhancing its utility for large-scale projects.
By following this guide, you'll be able to utilize Amazon Transcribe efficiently, streamlining your transcription tasks with ease. With its powerful features and flexibility, Amazon Transcribe is an invaluable tool for converting speech into text effortlessly.